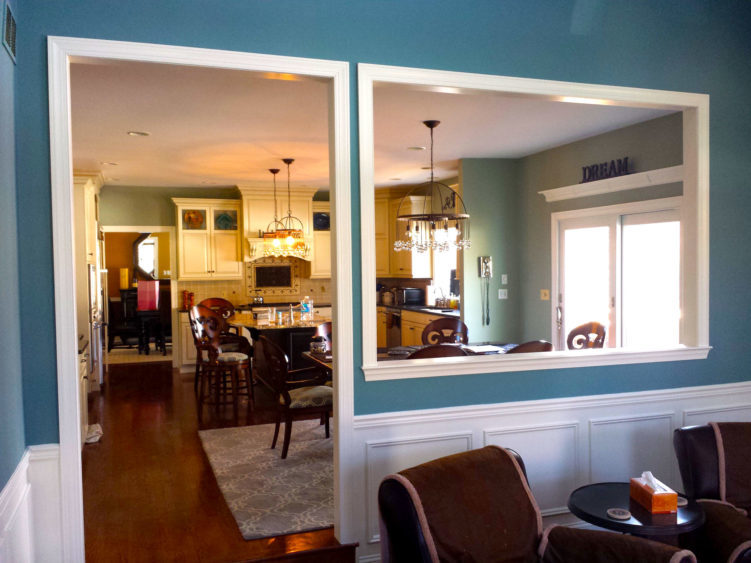
Painting stained trim is a nice way of updating and refreshing your home. Most stained wood trim, doors and windows that I see is sun-bleached, nicked, scratched, and old looking. The interior trim used on most builder homes is clear pine wood. Pine generally is soft and is not very durable. Pine also grows at varying rates making it dense in some areas and porous in others and therefore makes for a hard-to-stain wood. Very seldom do I see stained pine trim, doors and windows that look good. So how do you refresh and make trim wood look better that’s been stained?
First, you could scuff the trim with sand paper or with a sanding sponge. This will remove part of the protective clear coat and allow new stain to penetrate and stick. If you find the stain isn’t taking, then you’ve got to sand more. As you can see, this is a labor intensive job and trying to sand-out or smooth-out any nicks or chips can be difficult. Additionally, trying to stain alongside the wall and trim is tough; stain is thin and typically will bleed onto the wall or seep through tape. Ok, once the stain is dry, you can go ahead and clear coat the wood. I’d suggest water bases semi-gloss or satin urethane. You’ll need a minimum of two coats. For a premium look a third coat is an option. Make sure you sand lightly between coats to remove debris that gets into the finish and to promote adhesion of successive coats.
A second way to renew the trim is to paint it. I find that some clients are reluctant to do this. Some clients feel that painting wood is a breaking some kind of unwritten rule or they are proud of their wood. It’s like wood is more premium than painted trim and they like to show off their premium wood trimmed house. I disagree; cheap pine trim stained and old isn’t anything to brag about. Now if it was walnut, cherry or mahogany then you’ve got some bragging rights. Ok, so we’ll assume you’ve gotten over the “I love my stained trim syndrome” and are ready to make a smart modernizing improvement – congratulations! Let’s get started on painting that wood trim.
Painting trim is also time consuming and typically if hired-out is expensive due to the amount of hours required in preparation. First step is to wipe it down with a cleaner such as Krud Cutter to remove grease and dirt. In some cases it may be necessary to scuff the trim if it remains too glossy after cleaning. Next, tape off the floor and protect all horizontal surfaces from paint spatter and (I like to over-cut the sides of the trim to the wall and then cut a nice line of paint on the wall next to the trim to seal the joint.) apply one coat of Bonding Primer in water base. This primer is engineered to grip the surface of the trim and ready the trim for top coats of finish. (Oil or alkyd primers used to be required but products have changed. We’ve tested both and have found that water based primers actually do perform better.) When the primer is fully dry, caulk the gaps and cracks at the walls and fill nail holes with wood filler, lightly scuff the filler and primer and wipe with a clean rag. Now you’re prepped and ready for paint.
Last is to apply two coats of finish trim paint. We use Sherwin Williams Super paint in Semi-Gloss. The paint flows well and leaves a durable finish. You could also try a waterborne coating, it’s more difficult to apply but produces an oil-like finish that’s highly desirable and has a nice patina. Preparing doors is the same process but be careful as the doors may require planning so that room is made for the thickness of the new coatings. Windows too can be done the same as the trim but be careful here not to allow the sandpaper to ride on the glass, it will scratch it.
Bonus Round……… I like to paint the trim an off-white such as Dover White and paint the ceilings flat white, this way you can see the trim better. If the trim is just white and matches the ceiling it typically will blend in, so off-white gives a more “decorated” look. Call me or write back and I’d be happy to answer questions or take your trim painting project off of your hands.

